Cucumber Garden Trellis
Cucumber Garden Trellis
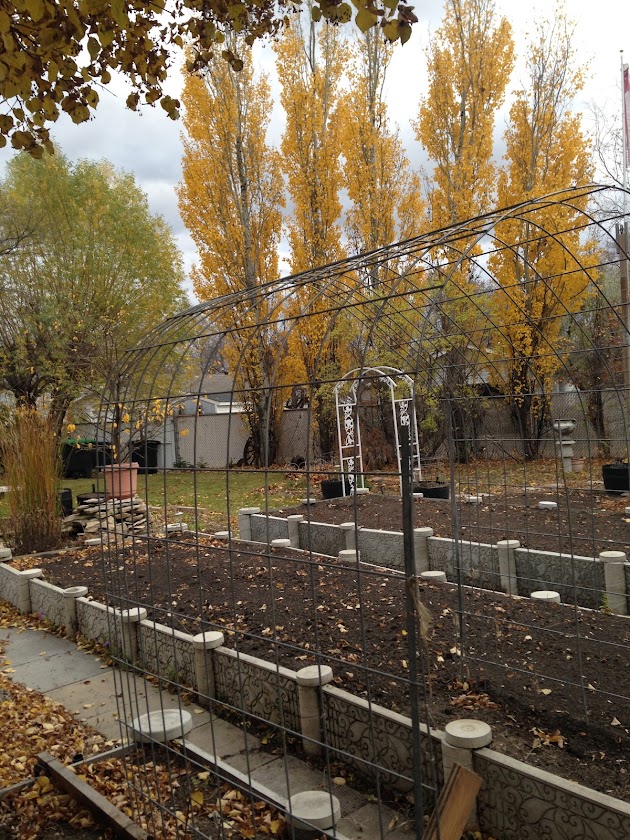
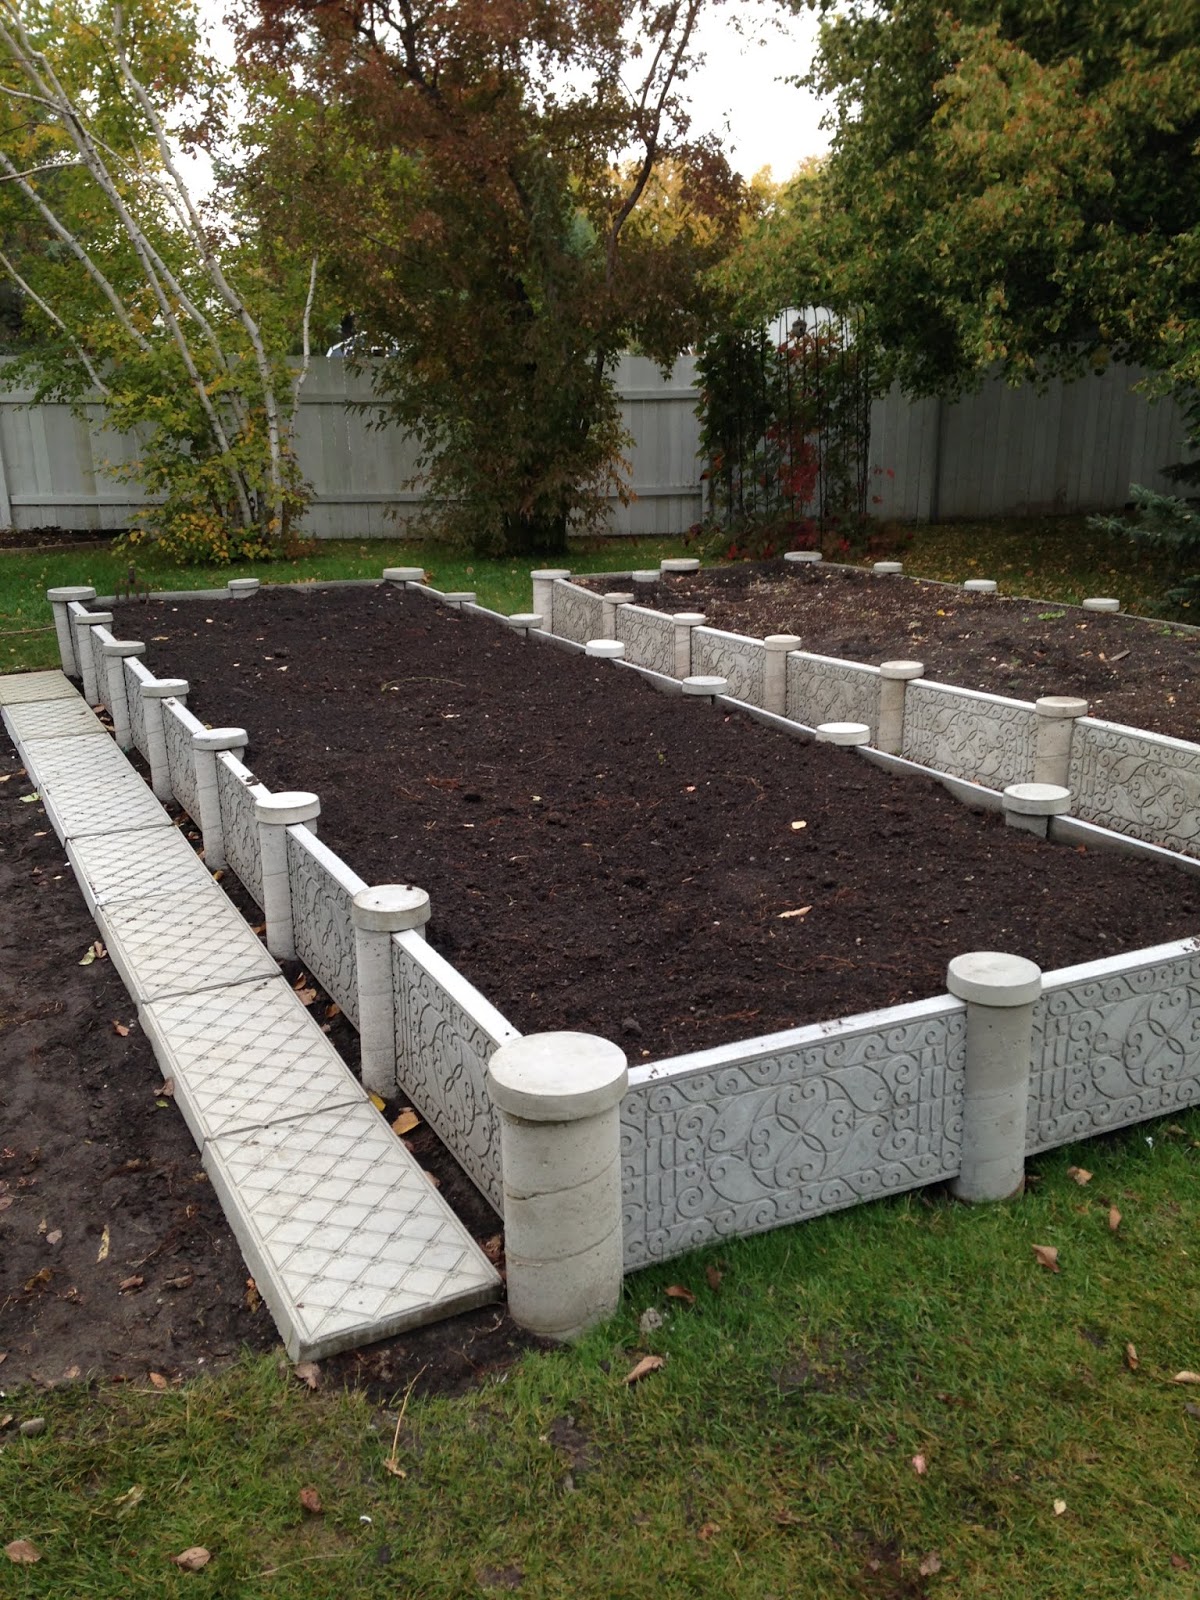
The cucumber trellis is a new addition to our backyard garden. The trellis has been a great success and we have thoroughly enjoyed the benefits of this garden feature. The trellis was installed over a pathway between two existing raised concrete garden beds. We wanted to experiment with a self watering wicking bed. The soil on one side of the bed was dug out and the wicking system was installed.
Please view our project, that you may endeavor to also try a trellis in your backyard garden.
Purchased from a hardware store
16 ft. X 52 " 4-Gauge Wire Cattle Panel
Bend the panel into an arch
Secure the panel with pegs into the ground on both sides of the garden pathway.
Panel secure and in place. Cucumber trellis has 72sqft of growing area. Trellis has an added benefit of crop canopy expansion beyond the arch area.
Cucumber seedlings are started in the
greenhouse and transplanted into the garden.
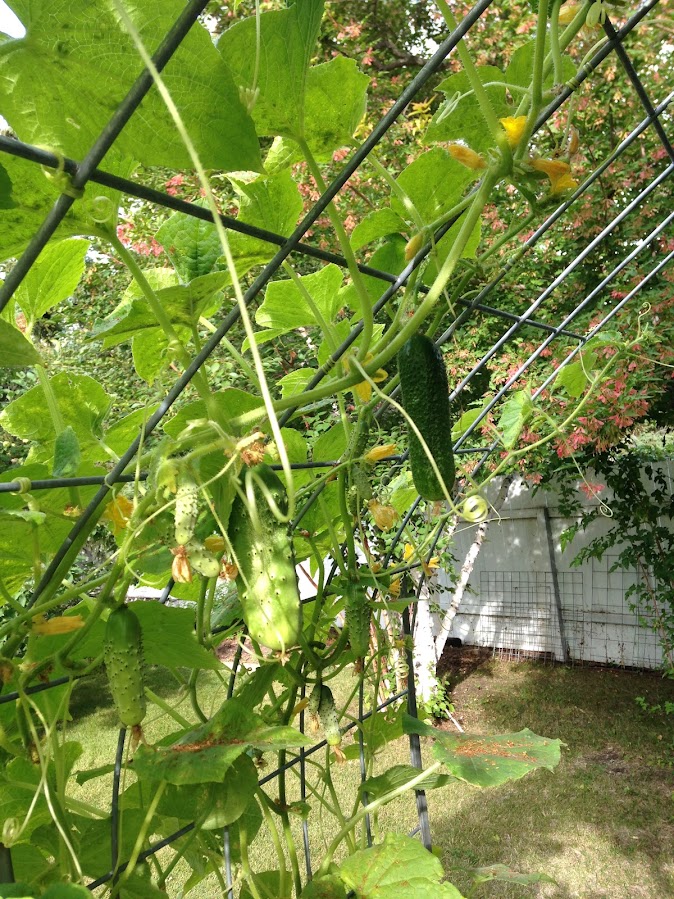
Cucumber vines grow quickly up the trellis
frame in the early stages of the season.
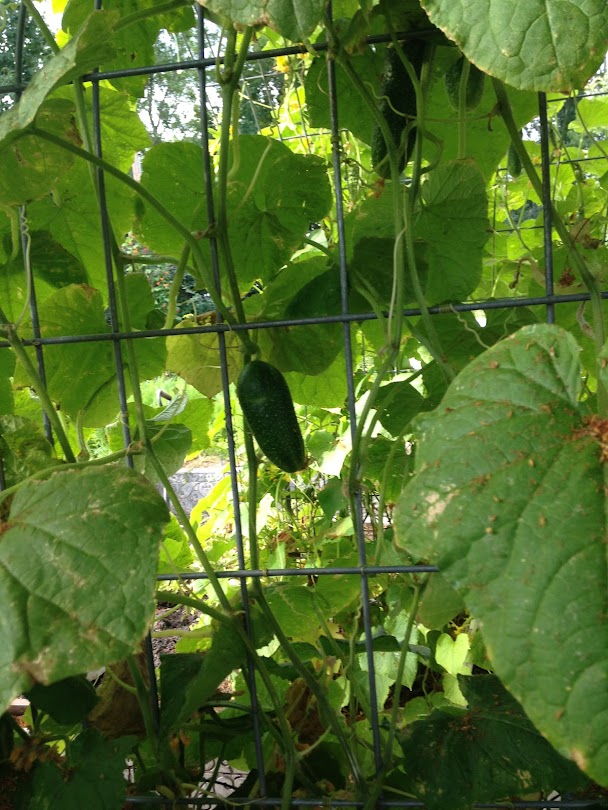
Cucumber vines cover the trellis
frame and begin to develop.
Cucumber production yields were
1 gallon or 4.5 L every second day.
Trellis design allows for ease of accessibility
for both the gardener and the bees.
Cucumbers are easy to harvest.
Picking requires no bending.
Easy to find.
(see below)
Cucumber trellis extra feature
The cucumber trellis is located over the path
way between our two raised garden beds.
The cucumber bed on the right side of the
raised bed has a self watering bed feature
Bed on the left has a watering soaker hose.
The new watering bed feature was definitely very apparent with both the amount of foliage canopy and the cucumber production yields.
Cucumber yield differential
3/4 wicking vs.1/4 soaker hose
of total crop production yield.
Making the Wicking Bed Feature
Step 1
-removed soil from raised bed, leveled the base and added a 1"x6" wood frame
Step 2
- inserted the water fill pipe / water level pipe through the top of the frame @ 5" height
- extended the pipe under the cement raised bed frame and installed a sink plumbing "U" trap
- on the outside of the bed wall installed a fill pipe into the "U" plumbing end to the height of the raised bed wall. The pipe also acts as a water level indicator. Drilled 1/2" hole in the fill pipe at same level as the top of the wood frame inside the raised bed. Filled the wicking bed with water, when full, it will come out of this hole.
Step 3
- lined the frame of the wicking bed with heavy mil poly
- stapled the liner to the top of the wood frame making sure that the liner fully extended to all corners of the frame.
Step 4
- installed the 5"drainage tile (see below) into the frame starting with the water level pipe extending through the frame. The weeping tile was looped in an "S" configuration. The tile came with a cloth cover to prevent soil entering and plugging the openings. Tied the cloth over the exit pipe with zip ties. The opposite end of the weeping tile was closed with a zip tie as well. -Filled the raised bed with soil. The soil had sufficient organic matter to facilitate water capillary action.Step 6
- Filled the wicking bed reservoir with water
- Overflow water will flow out of the side of the fill pipe where the 1/2" hole was made @ 5" level
** Filling tip - make sure to thoroughly soak the top of the raised bed soil bed in addition to filling the reservoir. This essential startup tip will ensure the wicking system will work.
Project Overview
- water fill of the wicking bed was weekly. Soaker hose bed was run every second day.
- Fertilized weekly with soluble 20-20-20 & Epsom salts
-the final results were impressive. Cucumbers began producing starting on June 15 till Sept 15.
- Canned 36 quarts of pickles. Fresh eating of 3to4 cucumbers daily in salads and garnishes.
-Family, friends and neighbors were inundated with daily gift bags of cucumbers
- Estimated overall cucumber yields were in excess of 85 quarts
- Future plans are to install more wicking systems into our raised beds







Comments
Post a Comment